


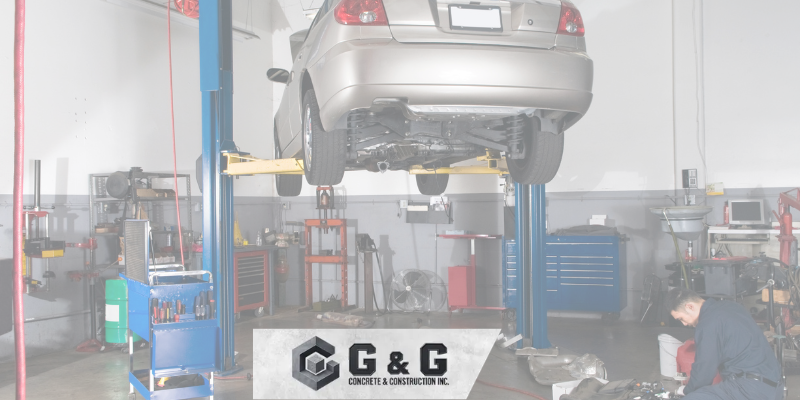
Most automotive lift models require concrete reinforcement before installation. Failure to reinforce concrete foundations can result in cracking, flaking, shifting, and even total collapse. If you are investing in your first two-post or four-post lift, here is what you need to know:
What Are the Standard Requirements?
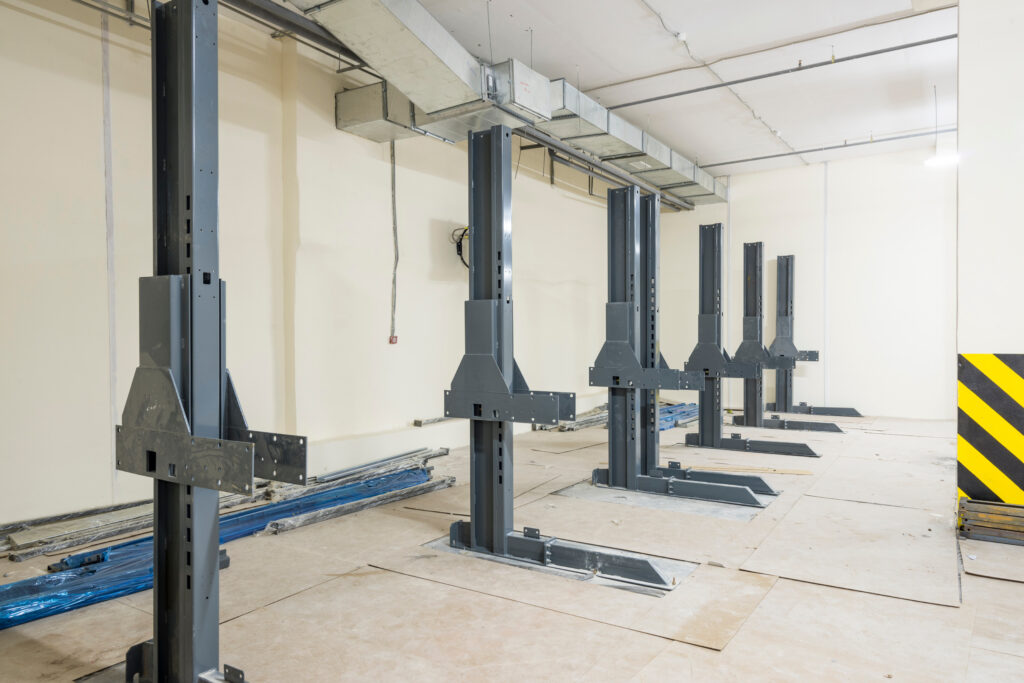
Most lifts require a minimum floor thickness of 4 inches. Concrete (for automotive lifts) must handle, at minimum, 4,000 psi.
Needed Tools
- Builder’s Level
- Bull Float
- Circular Saw
- Concrete Placer
- Drills
- Edger
- Groove Maker
- Hammers
- Heavy Duty Bolt Cutters
- Plate Compactor
- Rubber Boots
- Rubber Gloves
- Safety Goggles
- Screed Board
- Shovels
- Stakes
- String Line
- Tamper
- Tape Measure
- Trowel
- Wheelbarrows
This laundry list of tools and PPE does not include materials for securing the slab framing, screws, or nails, which normally get thrown away. Between waste and the cost of new tools, outsourcing concrete work for automotive lifts is the more cost-effective approach.
The Process
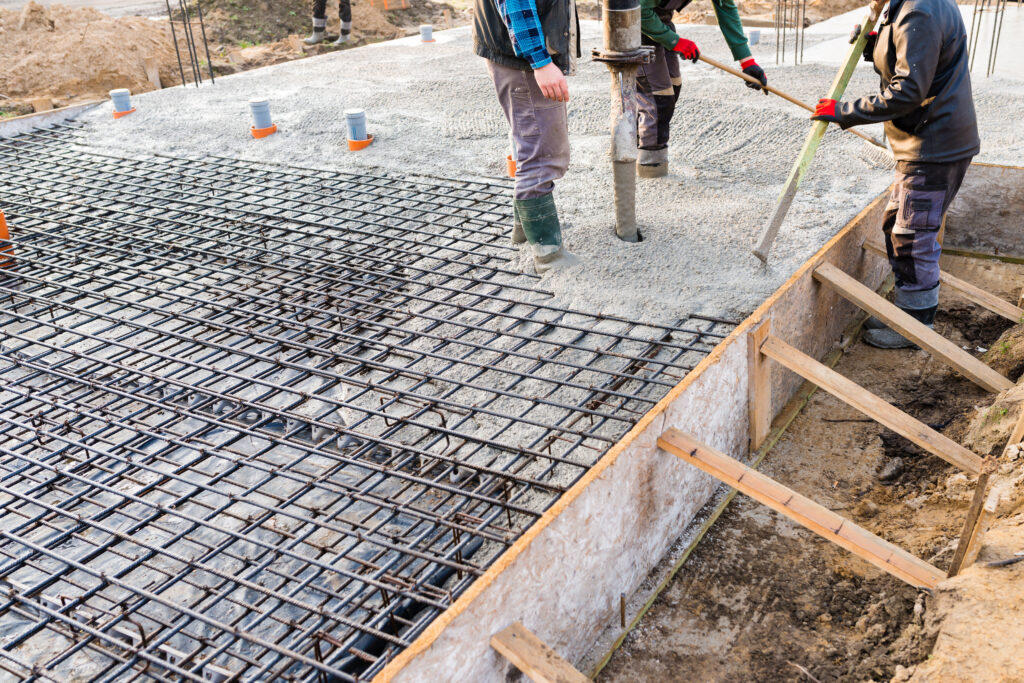
Establishing a concrete slab to support automotive lifts is a labor-intensive process that requires expertise, building acumen, and an intimate understanding of steel reinforcement. Forms must be built from lumber, secured together, and supported from the outside. If the forms fail, expect the concrete to flood the area.
The general process includes:
1. Initial Assessment
How thick is the existing content? What is its compressive strength? Is there already rebar or wire mesh? What is the condition of the concrete? These factors are all important to know. Automotive lifts can’t be installed on damaged concrete without initial surface preparation and repairs.
If the slab is thick enough, all that’s needed is to verify the anchor locations for the lift, perform a safety drill, clean the anchor holes, and install the anchors. If the existing slab isn’t thick enough, the next step is to cut out and replace inadequate sections or to pour a reinforced pad on top of the slab and smooth it.
2. Excavation
Follow the manufacturer’s instructions and mark on the floor where each column will be installed. Use a concrete saw and demolition hammer to cut and then remove the concrete. Excavate below the original slab (the specific depth varies based on the lift you’re installing and the condition of your concrete). Ensure any loose soil is removed and compact the subbase with crushed stone or gravel.
3. Reinforcement
Lay the rebar in one or two layers (depending on pad thickness). Forms may be needed if the new reinforced pad extends above the floor or beyond the slab edge. You can build forms using plywood, but be sure everything is level before pouring the concrete.
4. Pouring
A high-strength concrete mix is used to ensure proper PSI. After the concrete is poured, the surface is smoothed using a screed and float. The concrete must be allowed to cure (curing time varies based on environmental conditions and the specific concrete mix) before installing the lift.
5. Lift Installation
Drill (and clean) the anchor holes, set the anchors, and install the lift base plates. Follow manufacturer’s instructions for the rest of the assembly, and ensure you schedule a professional inspection from an ALI-certified inspector.
Common Reinforcement Mistakes
Slab Not Thick Enough
When a concrete slab is not thick enough to support the maximum payload, it lacks structural integrity. Telltale signs that concrete needs to be excavated and replaced include cracking, settling, or crumbling edges. It’s essential to design and pour a properly reinforced slab. Getting the structural assessment right from the start is key to ensuring your lift’s initial foundation is adequate.
Not Allowing Enough Time for Curing
Curing isn’t an inconvenience; it’s a necessary step in any concrete installation project to prevent internal microcracking, surface cracking, creep, and total failure. While there is a “drying” process, concrete itself doesn’t “dry,” but rather goes through a chemical reaction where the water in the concrete mix forms the crystals that give concrete structural strength. The full design strength, whether that’s 4,000 psi or more, for your lift pad can only be achieved if the concrete has been given enough time to cure. The standard curing time is 28 days, but always check the cure time listed on the mix you use.
Bolt Failures/Incorrect Anchors
Verifying correct torque when installing a lift is critical. Under-torquing can cause the lift to rock or shift with each cycle, which can eventually result in the columns leaning, while over-torquing can cause immediate damage by cracking the concrete around the anchor or by deforming the anchors themselves, leading to reduced holding strength. Likewise, using the wrong anchor type is a risk because it may not be rated for the expected dynamic load. The manufacturer of your automotive lift will recommend specific anchors, and they need to be used, regardless of cost.
Sub-Base Issues
Sub-base prep work can make a significant difference in terms of crafting a viable slab. Depending on the slab thickness, 4 to 6 inches of gravel must be placed on thoroughly tamped-down ground. Too often, DIYers operate under the misconception that it’s the concrete and rebar that matter, not the underlying base.
Avoid Mistakes by Working With a Professional
Whether you own a service center or you’re transforming your garage into an at-home shop, having properly reinforced concrete isn’t negotiable. You don’t want to find out that you made a mistake during the reinforcement or installation process once you start working underneath a vehicle.
G&G Concrete & Construction has over two decades of experience handling everything from small driveway installation projects to industrial-strength slabs for warehouses and plants to complex repair projects.
We proudly help homeowners and business owners throughout Macomb County, Michigan, and take pride in offering exceptional support, competitive rates, and quality workmanship. Visit our website to learn more about our work, or contact us today to get started with a free estimate.
