Installing a Concrete Catch Basin

A catch basin, also called a storm drain, is a series of grates and underground pipes that help guide rainwater from one location of your property to city sewers or other low-level waterways. They’re often an unassuming part of many landscapes, quietly doing their jobs to help prevent flooding and property damage.
If you live in an area that experiences frequent rainfall, runoff, or flash flooding, you should consider installing one because it helps you protect valuable landscape features from water damage.
In this article, we’ll explain the basics of installing a catch basin and the benefits of working with a professional for this type of project.
Fundamentals: What to Know Before Installing One
Location
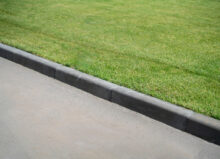
A catch basin driveway drain helps prevent flooding in low-lying areas. These systems are typically installed at the lowest point on your driveway and lead to an existing storm drain. If possible, wait until there’s heavy rain to observe where water and debris tend to flow and gather.
Materials & Height
If you know where the drain needs to be, plan the material and height needed for optimal water manipulation and capture. Concrete is primarily used for residential catch basins because it can withstand heavy traffic and harsh weather conditions and supports heavy loads, while metal (steel or cast iron) is used in industrial areas and busy roadways.
Next, to determine height, you’ll need to evaluate the site’s natural slope. As mentioned, the basin should be placed where water naturally collects or at the lowest point to ensure effective drainage. It’s also ideal to check your local regulations because building codes often specify requirements for drainage systems, including placement and height. You must also determine the inert elevation, which is the height at which the bottom of the catch basin connects to the outgoing drainage pipes. The inert elevation must be lower than the surrounding drainage area.
Additionally, if your catch basin is being installed in a paved area, evaluate the thickness of the pavement and any surface material that might be added later. The top of the catch basin should ideally be flush or slightly below the surface level to prevent tripping hazards and ensure proper water flow instead of pooling.
Installation Steps
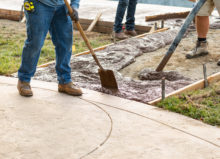
1. Cut Away Existing Concrete
Use chalk or spray paint to clearly mark the area of concrete that needs to be cut. Before you start cutting, ensure you know where your underground utilities are, such as water pipes, gas lines, or electrical cables, to prevent accidental damage.
When cutting existing concrete, use a concrete saw with a diamond blade or a saw equipped with a water attachment. Wet cutting tools are usually more expensive, but they help reduce dust and provide cleaner cuts. Regardless of your cutting tool, you want to ensure the blade is suitable for the thickness and type of concrete you have.
2. Dig Trenches
Next, dig the trenches for the pipes of the catch basin. There should be a predesigned route for the pipes, and they should slope toward the existing drain.
The trenches should be wide enough to contain the pipes with about three inches of clearance on either side. The hole for the basin itself must be significantly larger and line up with the trench.
3. Check Connections
After making the trenches, you will lay out all the pipes and connections. This preliminary layout allows you to catch any potential issues before you put everything together and install the system.
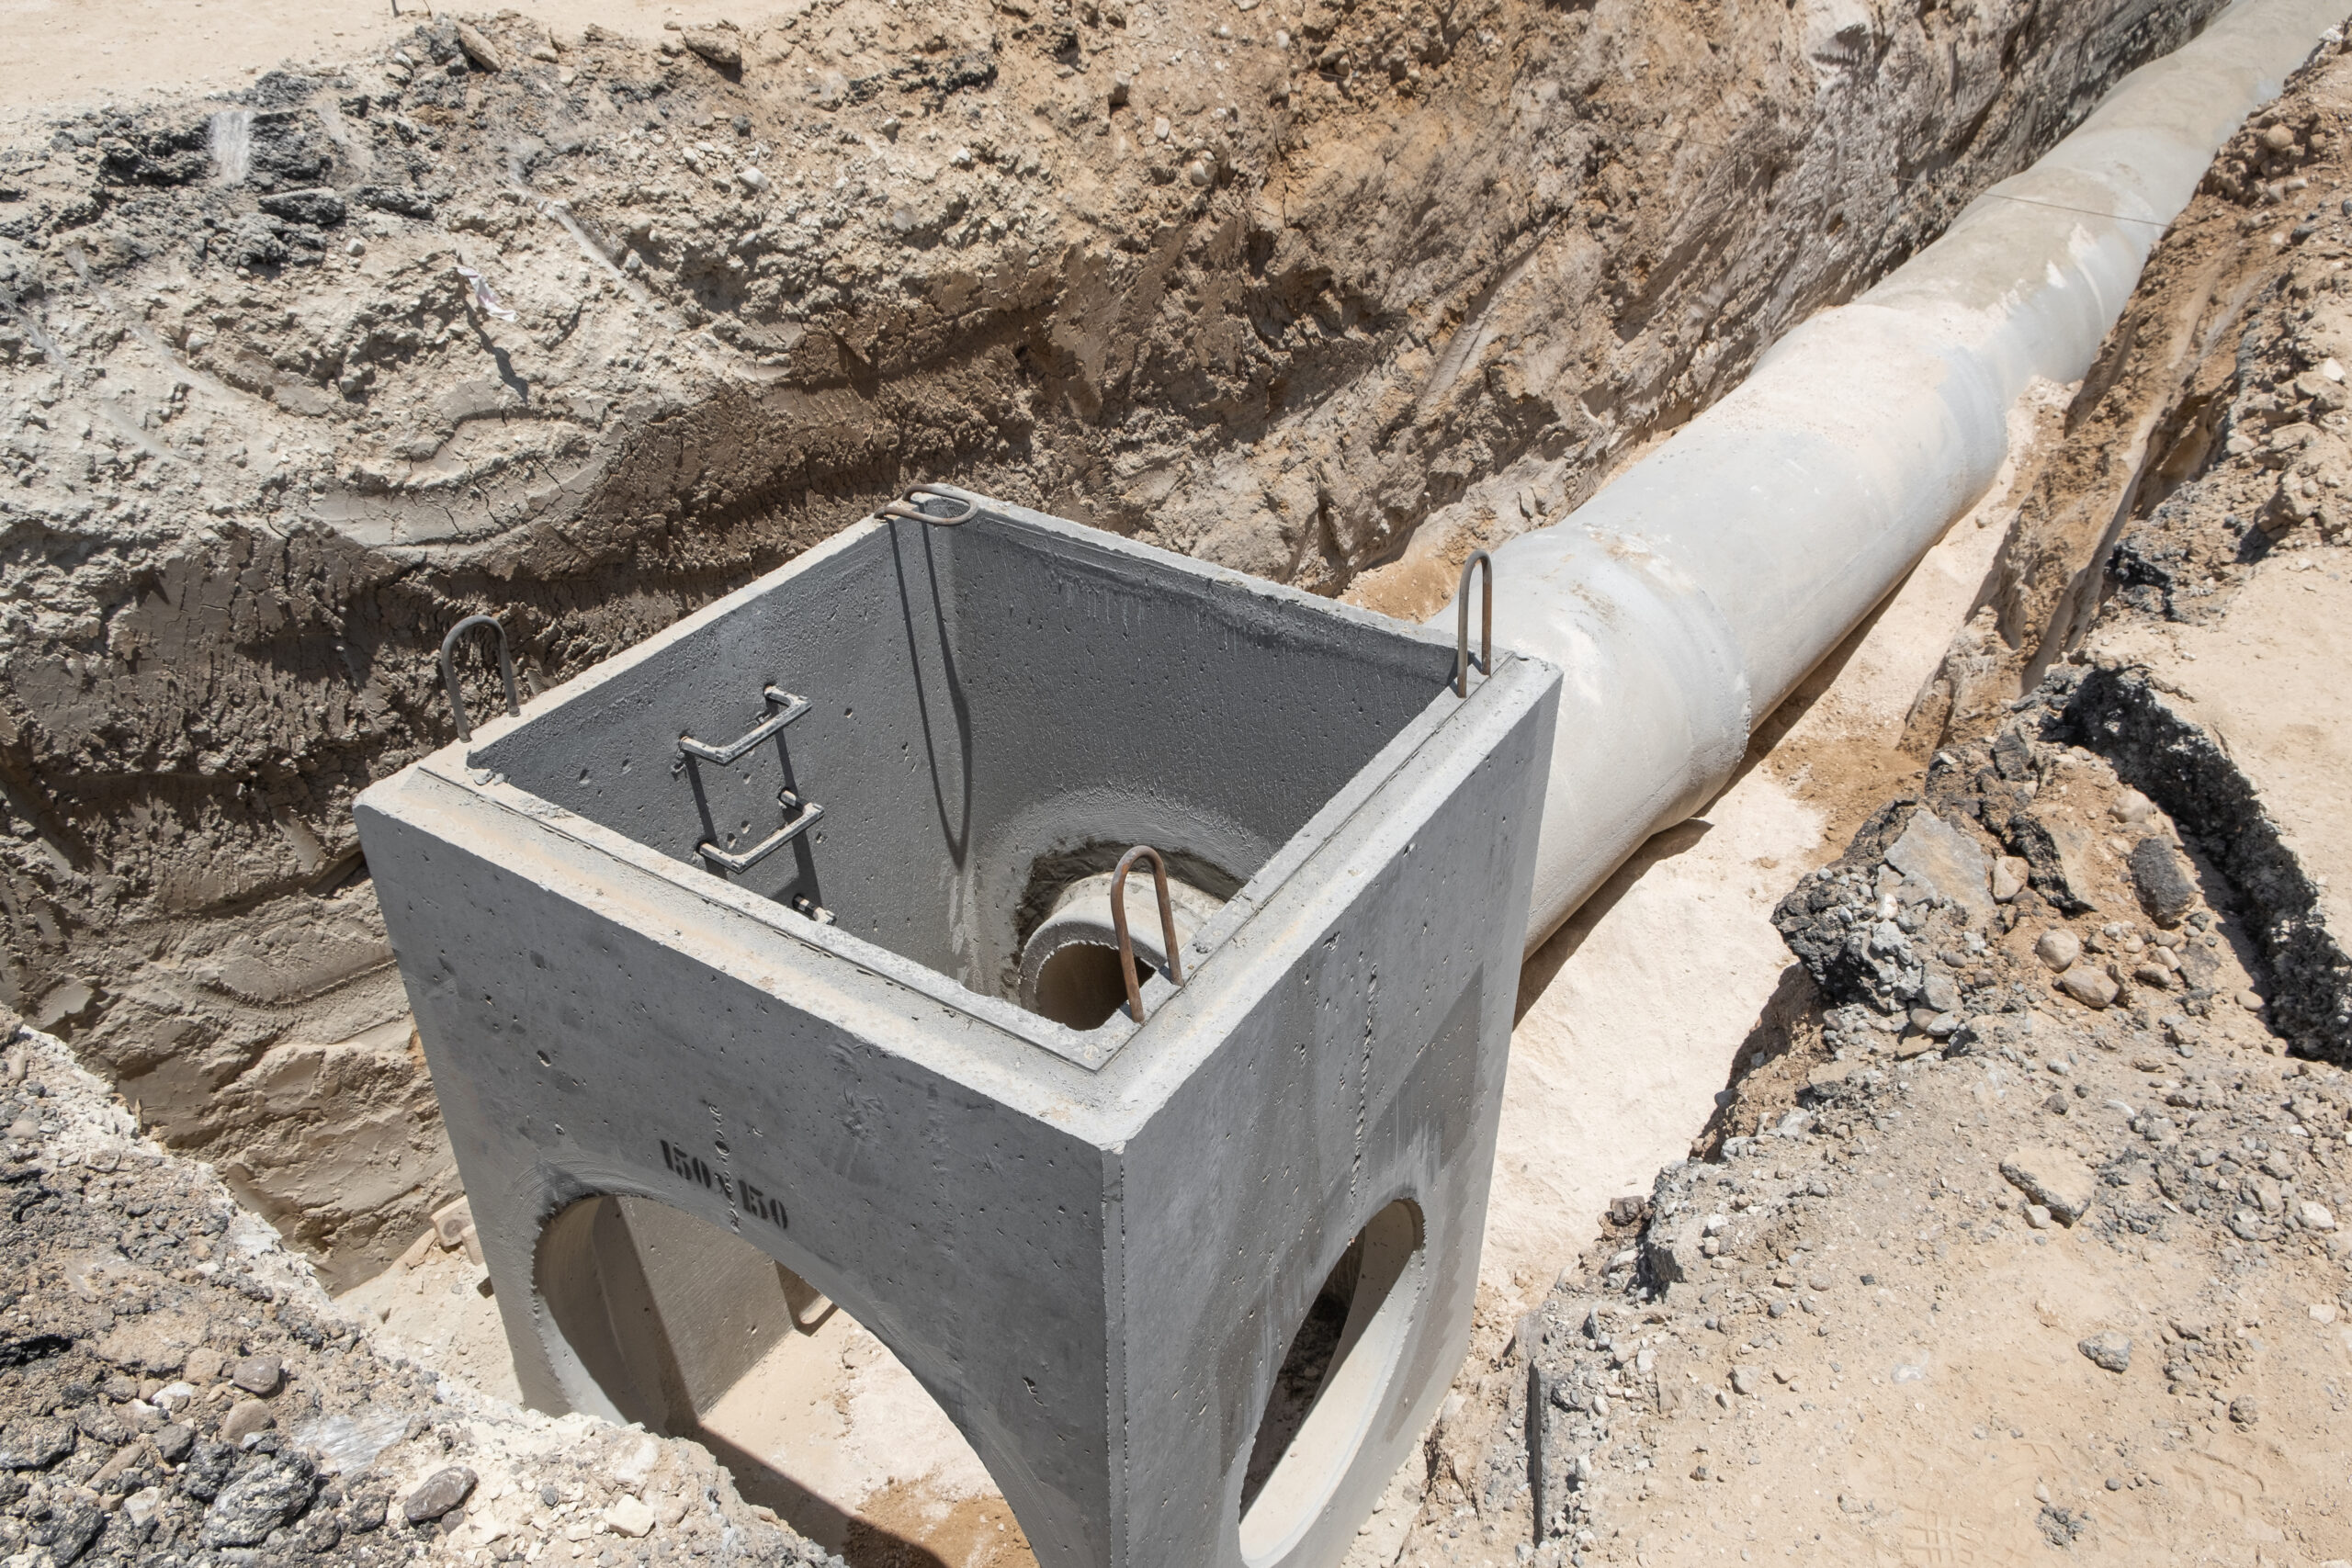
4. Installing the System
Before putting the basin permanently in place, use an adapter to connect it securely to the pipe system. Make sure there is adequate space around the basin to make final connections and adjustments. Then, use gravel or concrete to secure the basin. Concrete is typically more long-lasting, but gravel is easier to work with.
5. Connect the Pipes
After securing the basin, connect the pipes on the inlet and outlet sections. The securement methods will vary depending on the type of piping used. Use tape or glue on the joints as necessary.
6. Check Drainage
Use a garden hose and spray directly into the pipes. If everything drains and does not backup or flood, then you are ready for the final step.
7. Backfill & Finish
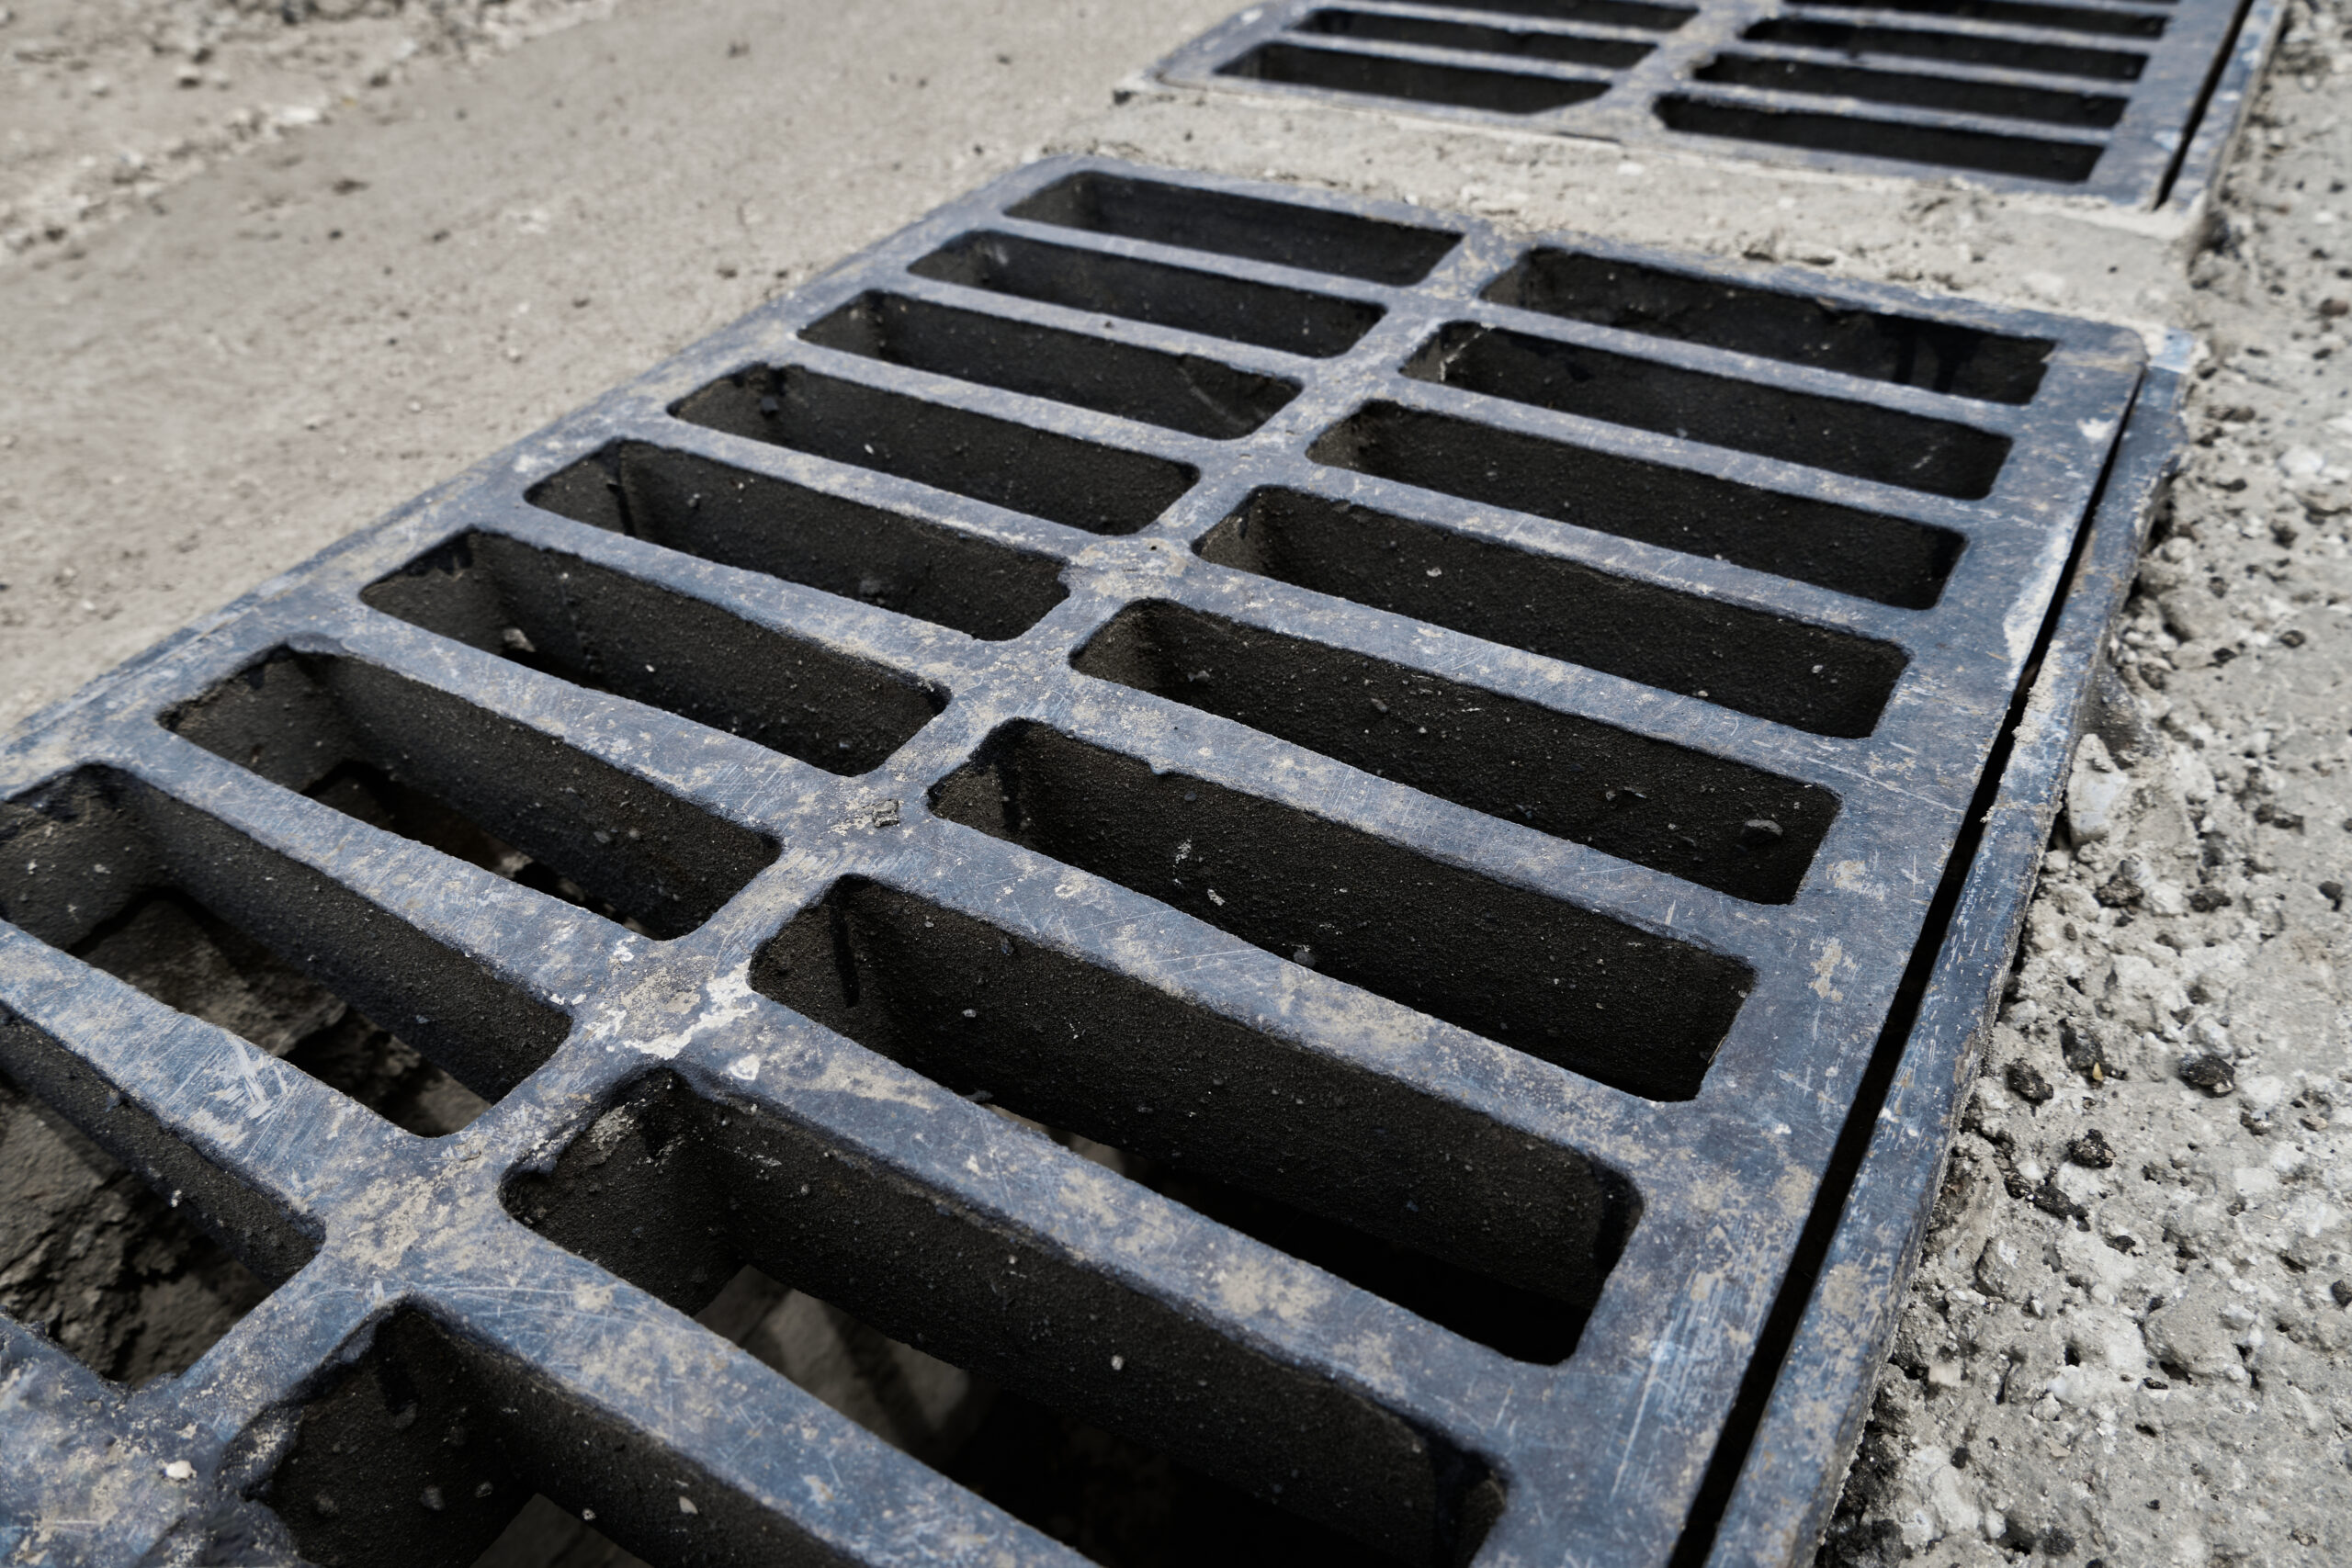
Backfill the trenches and holes with gravel. It’s important to compact the gravel several times to remove any voids because gravel shifts can cause the entire system to sink, break, or link. After backfilling, you will install your grates.
Post-Installation Maintenance
While these systems are designed to withstand a lot of flooding, they will require maintenance and upkeep.
After installation, make sure to:
- Regularly inspect the basin twice a year, typically in the spring or fall, or more frequently if you experience a ton of rainfall or debris accumulation. During your inspection, check for visible signs of blockage, sediment, or vegetation, and ensure the grates aren’t covered, obstructed, loose, or corroded.
- Regularly clean debris from the grate to prevent blockages. You can do this with a rake or by hand. Also, sediment in the bottom of the catch basin should be removed, typically requiring shoveling material or using a vacuum truck.
- Periodically flush the catch basin with water to clear out finer materials and check water flow throughout the system.
- Use safe, non-corrosive de-icing agents near the basin in the winter to prevent ice build-up, which can block water flow.
Common DIY Mistakes
DIY installations may seem like they could save time and money. However, we’ve seen many mistakes made during this type of project that we don’t want you to make.
The first common mistake we see is improper sizing and placement. The slope is one of the most important aspects of this type of installation. A misplaced catch basin can lead to ineffective water management, resulting in pooling, flooding, and possible erosion. Essentially, you’ve just spent time and money exacerbating an existing issue.
Another common mistake is inadequate connections to existing drainage systems. Incorrect slope of pipes, poor joint connections, or using the wrong type of piping can cause inefficient drainage or even blockages.
Lastly, it’s pretty easy to accidentally hit and/or damage underground utilities during installations, which can cause serious hazards and even lead to heavy fines.
Working with someone who has experience successfully handling this type of project is the best way to save time and money.
Get Professional Assistance From G&G Concrete & Construction
For over two decades, G&G Concrete & Construction has helped homeowners and businesses in Michigan install reliable catch basins. We manage the entire project for you, from site assessment, designing, and planning to excavation and installation. Please contact us today to learn more about our capabilities or to request a quote.